Sunday 22 November 2020


Matthew’s Mincemeat Shortbread


As promised here is another mincemeat recipe, that follower Matthew sent me, after I posted the Mincemeat recipe a few weeks ago. I have since used all of those 12 jars and now have made another batch, enough to last until Xmas I hope. Hey ho. This recipe is truly scrumptious and dare I say it?, nicer than mince pies. Just


You will need a 12 x 8 inch tray bake tin. Lightly buttered and lined. Pre heat your fan oven to 180C


12 oz plain flour

8 oz cold butter

4 oz sugar [I used castor]

pinch salt


a jar of mincemeat*


Place all of the above [minus the mincemeat] in a bowl or a food processor. You can cut or rub in, or whizz. I whizzed. You need the mixture to resemble fine breadcrumbs.


Spread half of this mixture over the base of the tin and press down evenly.  I levelled off then used the palm of my hand. With a couple of dessert spoons, careful spoon little blobs of your mincemeat to cover the crumb as evenly as possible. Spread over the remainder of the crumb and lightly press with your palm and then very lightly fork the top so it’s not completely flat. 


Bake for about 25-30 mins.


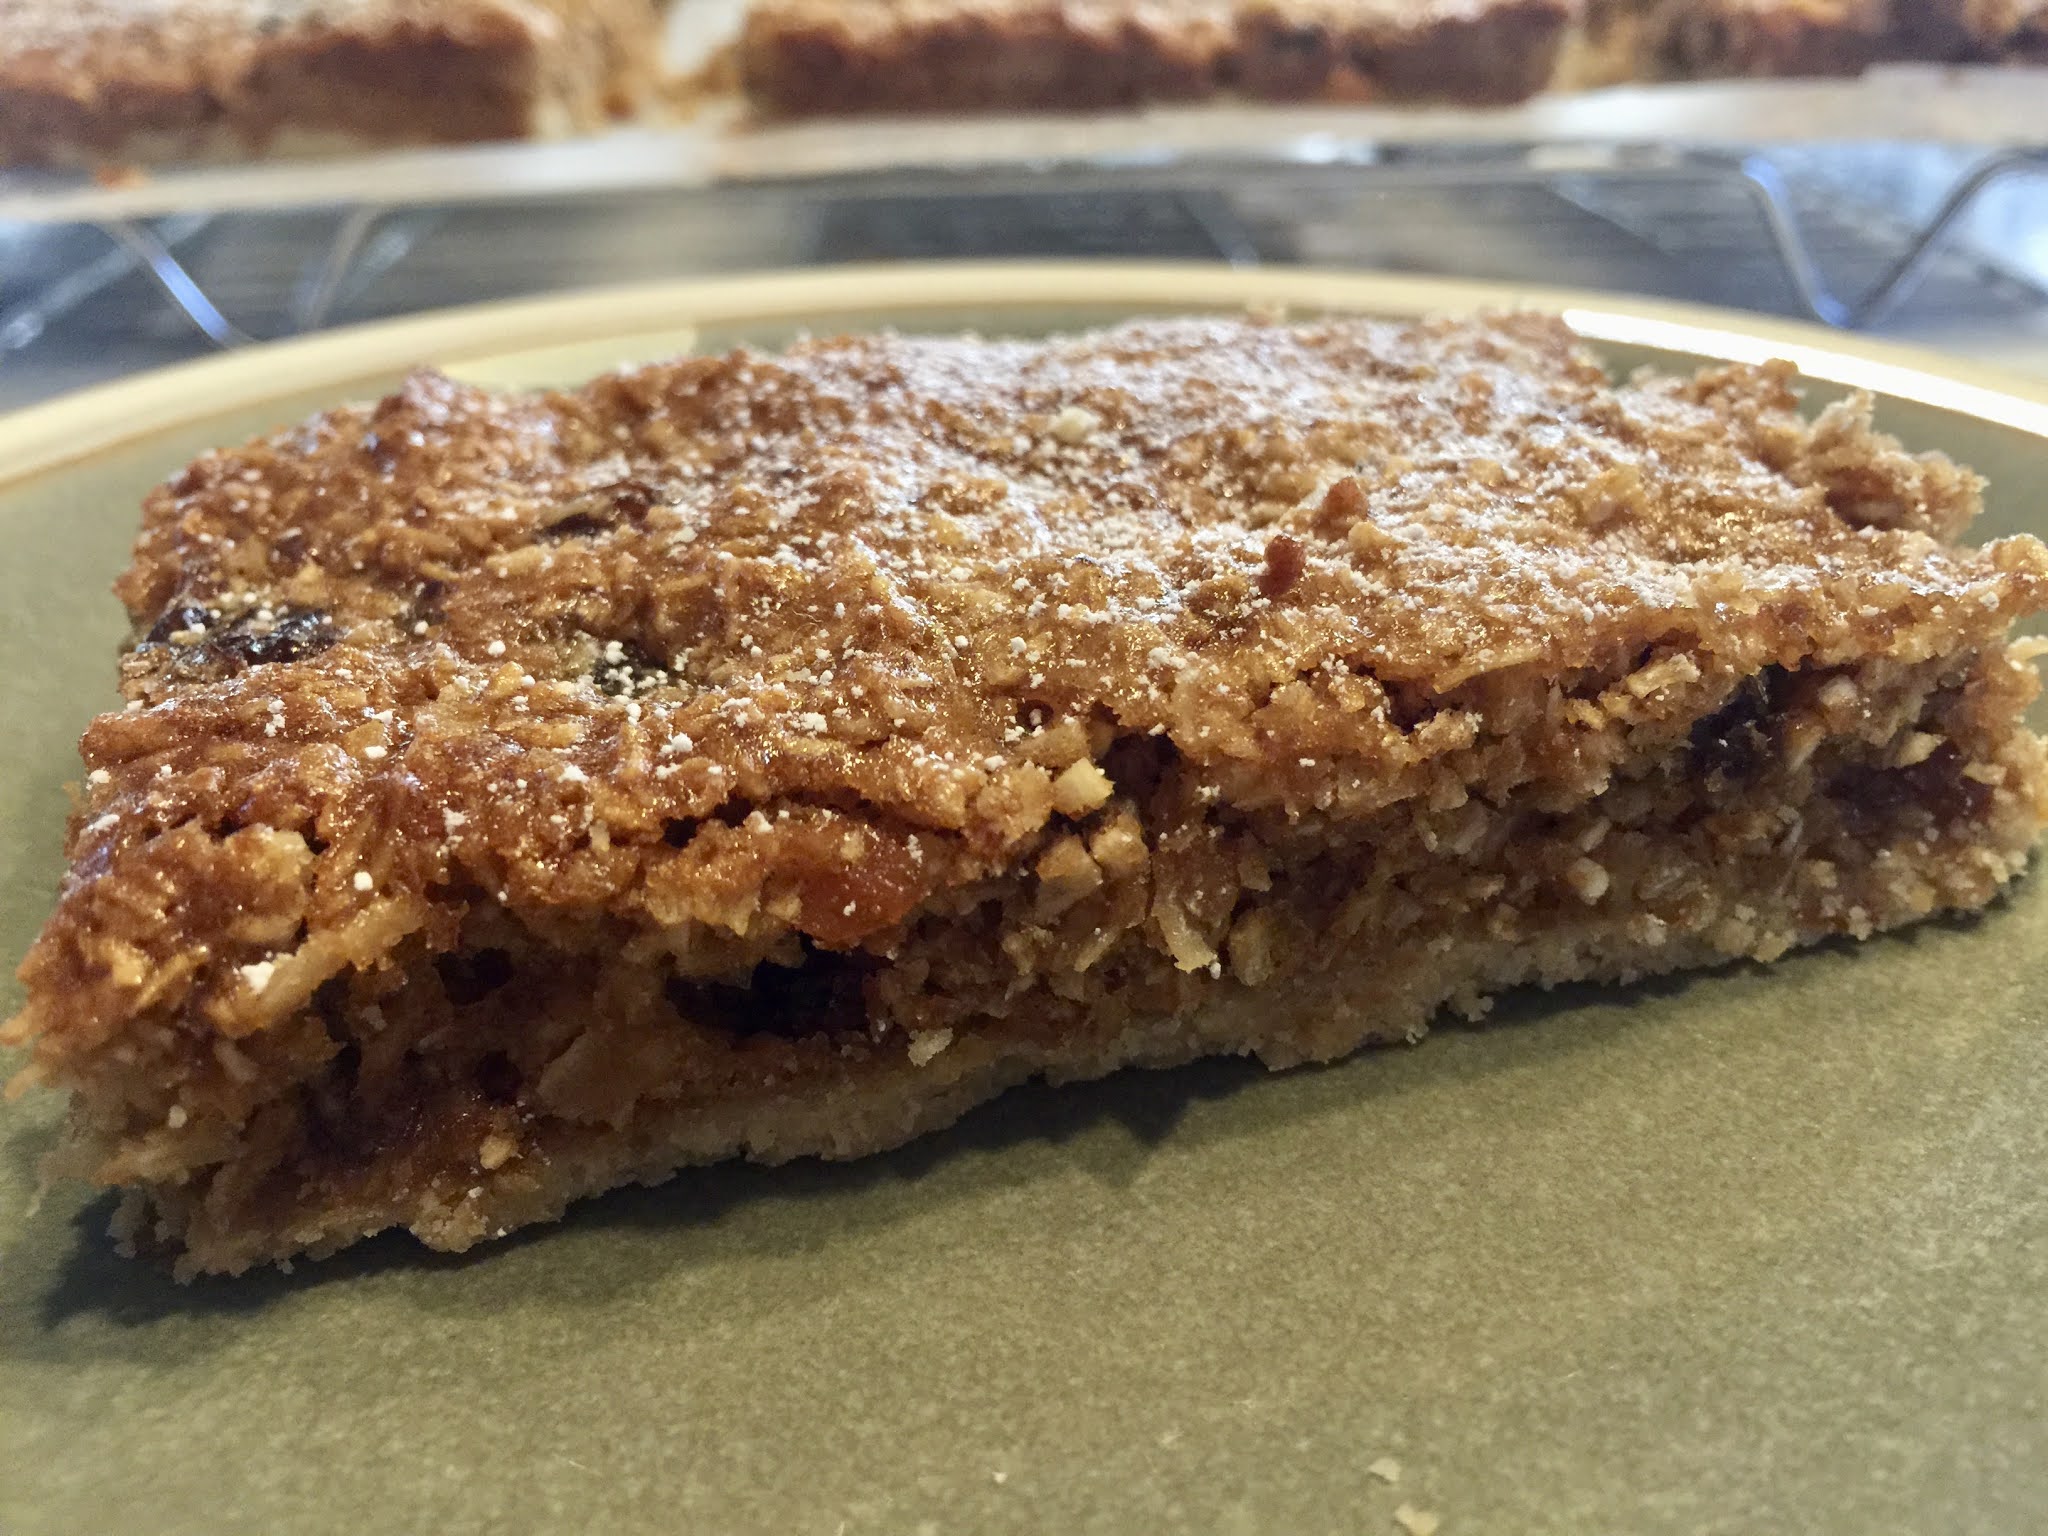
Allow to cool in the tin for a while then cut into squares or slices.


How delicious, thank you Matthew. There is another similar recipe on my Blog/Page that I posted a few years back using oats and almonds. This recipe is light and very buttery. Quite different but equally delicious.


Note: I used up one whole jar, then thought it needed a tad more, using another quarter of a jar.


Another super, impressive mincemeat recipe in a week.

Tuesday 17 November 2020


MINCEMEAT CHRISTMAS BUNS


These are very simple, with a lovely big dob of mincemeat in the middle, baked, then iced and decorated with a festive motif! They look stunning and very yummy, on a plate during the build up to Christmas. Just as easy as mince pies too. I have been making them every weekend as my husband and family love them so much! I have posted them before, but the pics were in my old kitchen!


You need a 12 hole muffin tin and some Christmasy cup cake cases.


This uses an all in one method, so place it all in a bowl: How easy is that???


6 oz SR Flour

6 oz softened butter [definitely not marg]

4 oz any sugar - caster or soft light brown

1 teaspoon mixed spice - or any festive mix of your choice

3 large eggs

1 tablespoon milk


Green and red fondant icing

Icing sugar


In a medium bowl, beat all the ingredients together until light and fluffy - you all know how! Spoon a dessertspoonful of the mix into the bottom of the muffin cases, then a heaped teaspoon of mincemeat - I used my own. Then place another teaspoon of mix over the mincemeat. I carefully try to cover the fruit as best I can, but no real need to be too fussy. [¾ of mix in case, then mincemeat and the remaining ¼ on top].


Bake in a pre heated fan oven 170 C for 20 mins. Cool, then when they are cold:


Mix a small amount of icing and put a blob on each bun. Roll out a small amount of green fondant icing and cut the holly leaves, Xmas trees [whatever]  and place then on the icing. Then take tiny pieces of the red fondant and make berries.


How easy is that???

Seal your fondant blocks in any air tight container and they will keep fresh over the festive period, to use again and again.


Wednesday 11 November 2020


Christmas Anytime Slices


I know you want more Christmas recipes and particularly using Mincemeat, so before I sign off for the festive period I will try and oblige!


This recipe is from Australia and was given to me by my cousin Jan, from Melbourne. They don’t  call it Mincemeat as we do, but Fruit Mince. The recipe also used a few ingredients that I have had to guess at the translation. I have taken lightly packed brown sugar as soft brown and firmly packed as Muscovado. Anyway it worked, and I used dark muscovado for the topping that mixes so well with the mincemeat. Mmmm the smell was so good. The recipe uses mostly cup measurements.


You will need an approx 12 x 8 inch tray bake tin, lightly greased then lined with parchment. Pre heat your fan oven to 170C


Base:

3 oz of softened butter

⅓ of a cup of soft brown sugar

1 cup of plain flour


Beat the butter and sugar til light and creamy then work in the flour. Press evenly onto the base of your tray bake pan. The back of a spoon makes it easy. Bake for about 10 mins.


Meanwhile


The topping:


2 large eggs

½ cup light or dark muscovado sugar

1 teaspoonful vanilla extract

1 tablespoonful plain flour

½ teaspoonful baking powder

1½ cups of desiccated coconut

1 cup of Mincemeat [use a good one! or your own]

1 tablespoonful brandy

juice of half a lemon


In a medium bowl, whisk the eggs, sugar and vanilla til slightly thicker and frothy. Fold in the flour, coconut, bp and Mincemeat plus the brandy and mix well.


Spread over the base and level off. Sprinkle over the lemon juice and bake for about 25 mins until firm.


Cool in the tin for a short while then lift out using the parchment and slice.


Dust with icing sugar to serve. With clotted cream of course!


Yum yum.


Thanks Jan x


Note: Jan named them “anytime” because they were too delicious to only bake at Xmas.

Friday 6 November 2020


[Toasted] Tea Cakes 


I love a toasted tea cake, don’t you? Warm and dripping with butter of course. They are incredibly easy and if you have a food mixer with a dough hook, little effort. The baked tea cakes freeze like a dream [as soon as they are cold], then pop them into your microwave for a few seconds to defrost for a just baked teacake to toast. This recipe is from an old WI book, so you know it will be good, although after the first bake I did adapt it a little.


Makes 5-6 large teacakes, easily doubled. [a half is a large portion!]


4 oz butter, just melted but not hot

5 fl oz whole milk

1 egg

1 lb strong white bread flour

2 oz caster sugar

pinch salt

3 teaspoonfuls dried [quick] yeast [or 1 oz fresh]

about 3-4 oz of dried fruit of your choice. I used sultanas


In a basin, or jug, whisk together the melted butter, egg and milk. Set aside for a mo.


In a large bowl [or the bowl of your food mixer], place the flour, dried yeast, sugar and salt. Make a well and add the milk mix. Mix well and knead until smooth - about 10 mins. Cover and leave to rise until at least double in size. This may well take up to two hours.


Turn onto a floured surface and knock back, adding the fruit and knead to mix. Roll out the dough until it is about ½ an inch thick. Using a large plain cutter of around 4 inches in diameter, plus a sharp knife, cut out your teacakes and place them on a buttered baking sheet to rise once more for about 50-60 mins. After I cut mine, I rolled each one a little more as the WI booked suggested the size 4-6 inch diameter. I felt 6” was a little too large. It is handy to note here that if you add too much fruit it is difficult to cut into rounds.


Pre heat your fan oven to about 200C


Bake for 18-20 mins. Oh my, the smell is wonderful. Allow to go completely cold, cut in half, toast and butter, then tuck in. Heaven on a plate for afternoon tea.


Note: In the WI book where I originally found this recipe they suggest you brush the hot teacakes, when they come out of the oven, with a milk and sugar syrup. But I think it makes them far too sticky and it is just not necessary. But up to you.


Monday 2 November 2020


Sage Topped Chicken Casserole in a Sour Cream and Sherry sauce.


Well, what a mouthful for such a delicious, easy Chicken casserole. Can be made ahead and reheated. I was researching old recipes and found this in one of my many recipe folders, on a crumpled scrap of paper. It sounded delish and wondered why I had never tried it? Wonder no more!! The title was not as above, but Fave Chicken Casserole. Very boring for such a super dish.

You could make your own sage stuffing, without adding the liquid, but for ease, I bought Sainsburys Taste The Difference Wild Sage, Roasted Shallot and Lemon packet stuffing.


Serves 4. Pre heat your fan oven to 190C. You will need a shallow ish, ovenproof serving dish, greased lightly.


4 chicken breasts [I used skinless]

1 packet of sage and onion stuffing mix

some broccoli or similar veg [the chicken will sit on this]

[I used a packet of tenderstem]

2 oz butter

1 oz plain flour

¾ pint of good chicken stock [nothing wrong with a little good stock pot]

4 fl oz of sour cream

3 tablespoonfuls sherry [I used a sweet sherry]

Sea salt and fresh ground black pepper

4 oz grated mature cheddar


Coat your chicken breasts in the stuffing crumbs and place then in the ovenproof dish. Cover tightly with a lid or foil and roast for about 35-40 mins.


Meanwhile cook the broccoli until just barely tender. Drain. Set aside for a mo. [do this just before the chicken will be ready]


Melt the butter in a small pan and thick in the flour. Take it off the heat and gradually stir in the stock. Slowly bring to the boil, stirring all the while until thickened. Stir in the cream and sherry and also season to taste.


Lift the chicken and place the broccoli stems in the base of your dish and pour over half of the sauce.  Arrange the chicken on top. Add half of the grated cheese to the other half of the sauce and pour that over the chicken. Sprinkle over the remainder of the cheese and place under a pre heated hot grill, until lightly browned and bubbling. Not too close to the top!!


Serve with any potato dish and perhaps baby carrots for a super easy delicious meal.


The scrap of paper told me it can be made ahead and stored in the fridge then re heated in a moderate oven for half an hour.